
Last updated: October 31, 2026
Quick Answer: pair the gimbal app connection in 1–2 minutes by turning on the gimbal, enabling Bluetooth on the phone, opening the correct mobile app, and granting permissions before you try camera control or a firmware update. This guide covers How to pair a gimbal with your camera or phone app for phone rigs and camera rigs.
Key Takeaways
- Gimbal app connection lets the app change settings, update firmware, and control supported cameras.
- The connection works only when the gimbal is on, Bluetooth is visible, and app permissions are allowed.
- Pair a phone gimbal in the app, not from the phone’s generic Bluetooth menu.
- Connect a camera rig with the control cable first, then pair in the app if model support exists.
A clean pairing usually takes 1 to 2 minutes. The catch is that a gimbal can connect in more than one way: some models talk to a phone app over Bluetooth, while others also use a camera control cable to trigger record, zoom, or shutter functions on a mirrorless or DSLR rig. If the app never sees the gimbal, the fix is often permission-related, not a broken device.
This guide covers both paths because the setup looks similar from the outside but behaves differently in practice. It also explains the common permission prompts that block pairing on iPhone and Android, which is where many people get stuck. If you want the broader setup sequence after pairing, the hub article on gimbal setup and operation can sit next to this one.
What gimbal app connection actually does
Gimbal app connection links the stabilizer to a mobile app so the phone can change settings, update firmware, and, on supported rigs, control the camera itself. That link is usually Bluetooth, not Wi‑Fi, because Bluetooth is enough for low-bandwidth commands like start/stop record, mode switching, or motor tuning.
A lot of readers expect pairing to mean the gimbal will “run” through the app. It usually does not. The gimbal still powers its motors and stabilizes independently. The app is a control panel, not the engine. That distinction matters when you decide whether to pair from a phone-only setup or from a camera rig with a control cable attached.
The obvious alternative is to use the gimbal with no app at all. That works fine for basic stabilization on many models, and it is the better choice if all you need is to hold a phone steady for a short clip. Pairing is worth the extra step when you need firmware updates, payload-specific settings, joystick sensitivity changes, follow-speed tuning, or camera control from the handle. It is not worth the hassle if you are shooting once and never changing settings again.
One thing a generic setup guide often misses: the app may need to know which product family it is talking to before the Bluetooth handshake succeeds. DJI, Zhiyun, Hohem, Insta360, and similar ecosystems often route you through a model-specific app or a device selection screen. If you open the wrong app, the gimbal can look “unpairable” even though Bluetooth is working.
Before you pair: the three things that have to be ready
The gimbal app connection only works when the gimbal is powered, the phone can be seen by Bluetooth, and the app has the permissions it needs. If one of those pieces is missing, pairing fails in a way that looks random.
Start with the gimbal itself. Charge it enough to boot reliably, balance the phone or camera on the arm, and turn it on before launching the app. Many models will not advertise themselves over Bluetooth until they are awake. A dead battery can produce a misleading “device not found” loop.
Next, check the phone settings. Bluetooth must be on, and the phone may also need Location permission on Android for Bluetooth scanning. iPhone setups often ask for Bluetooth permission the first time the app opens. If you deny that request once, the app may stop finding the gimbal until you go back into system settings and allow it.
Finally, confirm that the app is the one meant for your model. A gimbal app often has a device family screen, and pairing to the wrong family can waste 10 minutes before you realize the issue. The model name on the product box or body is more useful than the marketing name. A “3-axis smartphone gimbal” and a “camera gimbal” may share a brand but still use different app behavior.
This is also the point to decide whether you are pairing a phone or a camera rig. A phone setup can usually pair with Bluetooth alone. A camera rig may need the camera control cable connected before the app exposes record or shutter commands. If the cable is missing, the app can still connect, but the camera-control features may stay greyed out.
How to pair a gimbal with your phone app
Pair a phone gimbal by powering it on, opening Bluetooth in the phone settings, and connecting inside the app rather than from the phone’s generic Bluetooth menu. That order usually prevents most false starts, but check your model’s manual if it gives different instructions.
-
Power on the gimbal and leave it still for 5 to 10 seconds.
The result to expect is a ready state, often shown by an indicator light or a short startup sequence. If the gimbal is still booting, the app may not detect it yet. -
Turn on Bluetooth on the phone.
You want the phone visible for scanning, not just the app. On Android, keep Location on if the app asks for it, because some Bluetooth scans are tied to that permission. -
Open the correct mobile app for the gimbal model.
The app should present a pairing screen, a device list, or a prompt to connect. If it opens straight into settings with no device shown, the app may be the wrong one or missing permissions. -
Allow the permissions the app requests.
Approve Bluetooth access, and approve Location if the app needs it. On iPhone, denying Bluetooth permission usually blocks discovery. On Android, denying nearby-device or location access can do the same. -
Select the gimbal inside the app, not from the phone’s Bluetooth menu unless the manual says to.
A successful pair usually shows the device name or a connected badge in the app. Some phones will also show the gimbal in Bluetooth settings, but the app is the place that matters for control. -
Wait for the app to finish synchronizing settings.
That can take a few seconds while it checks firmware, device mode, or motor data. Once it settles, the joystick, mode buttons, and firmware page should become available. -
Test one control at a time.
Change pan or tilt sensitivity, or trigger a basic shutter command if the app supports it. The goal is not to explore every menu; it is to confirm the link works before you head out to shoot.
A common mistake is pairing from the phone’s system Bluetooth menu and then wondering why the app still says “disconnect.” Some gimbal apps want the connection initiated in-app so they can handle device profiles and firmware features correctly. If the app does not show the gimbal after you’ve paired at the system level, remove that Bluetooth entry and reconnect from inside the app instead.
If you are using iOS, the most common blocker is permission refusal. If you are using Android, the usual blocker is Bluetooth scanning without the needed location or nearby-device permission. In both cases, close the app fully and reopen it after changing settings; leaving it open can preserve the old permission state for a while.
How to connect a gimbal to a camera rig with a control cable
Connect a camera rig by attaching the camera control cable first, then pairing the gimbal app connection over Bluetooth if the model supports app control. That order lets the app see both the stabilizer and the camera-control path.
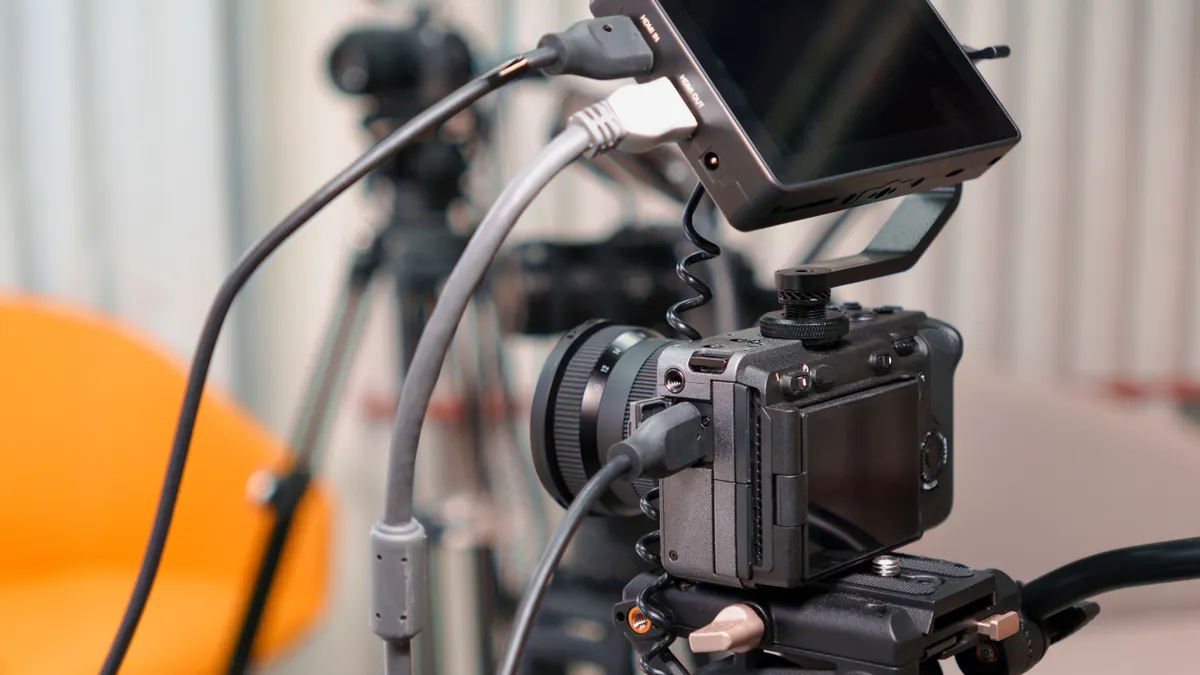
A camera gimbal setup usually has more pieces than a phone setup: the camera body, the lens, the mounting plate, the gimbal arm, and a branded cable or adapter. The cable is not decorative. It carries the command that lets the gimbal trigger the shutter, start recording, or change focus functions on supported cameras. If the cable is wrong, camera control may fail even though the app connects cleanly.
Follow the model-specific port map. One side of the cable goes into the gimbal’s camera-control port; the other goes into the camera’s remote or USB control port, depending on the camera and the gimbal. The exact port names differ by brand, and a mini-USB, USB-C, micro-USB, or proprietary plug all appear in the wild. Do not force the connector if the shape and orientation do not match.
After the cable is seated, turn on the camera, then the gimbal, then the app. Many rigs recognize the camera only after the gimbal has powered up and negotiated the control mode. When the setup is right, the app may show camera-control functions such as record, photo, focus mode, or zoom support. If those buttons are missing, the cable or camera profile is usually the first thing to check.
The trade-off here is obvious: a control cable gives you better rig control, but it adds another failure point. It can loosen, point to the wrong camera profile, or simply not support your exact camera body. That is why many operators keep the cable in the bag even when the gimbal can stabilize without it. Pairing still works over Bluetooth, but the cable determines whether the app can do more than adjust the stabilizer itself.
Permission problems that stop pairing
Permission problems stop pairing because the app may be blocked from seeing Bluetooth devices, reading device state, or sending camera commands. That is the most common reason a gimbal appears “dead” inside the app even when both devices are on.
The first place to check is the phone’s system settings. On iPhone, go to Settings and confirm the app has Bluetooth access. On Android, confirm Bluetooth, Nearby devices, and Location are allowed if the app requests them. A denied prompt from earlier the same day can remain the culprit even after you restart the app.
The second place to check is the app’s own permission screen. Some mobile apps ask for camera access, storage access, or notification access during setup. Not every request is necessary for pairing, but an app that needs local file access for firmware downloads or media transfer may behave oddly if you blocked everything. Grant the minimum it asks for, then tighten permissions later if you want.
The third place to check is interference from old pairings. If the phone remembers two gimbals of the same brand, it may try to reconnect to the wrong one. Delete stale Bluetooth entries, forget the device in the app if that option exists, and pair again from scratch.
A useful rule: if the app can open but the gimbal does not appear, it is usually a permission or model-mismatch problem. If the gimbal appears but control buttons are greyed out, it is often the cable, camera profile, or a missing firmware update. Those are different failures, and they need different fixes.
Firmware updates and camera control after pairing
Firmware updates and camera control are the main reasons to keep the app installed after the initial pair. They are also the features most likely to break if the connection is half-finished.
A firmware update usually lives in the settings or device page of the mobile app. Keep the phone near the gimbal, keep both batteries charged, and do not let the app close halfway through the update. The app may need a stable Bluetooth session for several minutes, and interrupting that process can leave the device in an odd state. If the update screen appears, read the prompt carefully before starting; some apps require the motor to be idle and the camera disconnected.
Camera control works differently depending on the rig. With a phone, the app may simply let you trigger the shutter or switch photo/video mode. With a camera body, camera control depends on both the camera control cable and the camera profile chosen in the app. If the wrong profile is selected, record may work but zoom may not, or the shutter may work while half-press focus does nothing.
This is where a generic “pair it and you’re done” guide falls short. Pairing is only the first layer. The real payoff is in matching the app, the cable, and the camera body so the commands line up. Without that match, the gimbal still stabilizes, but the app feels like a fancy remote with half its buttons disabled.
If you only need stabilization and one thumbstick, you can skip firmware checks and camera control entirely. If you need those features, keep the app installed and treat pairing as part of the rig, not a one-time chore. For the wider setup flow, the hub page on gimbal setup and operation belongs right beside this one.
Why won’t my gimbal connect to the app?
Most connection failures come from Bluetooth permission, the wrong app, or a stale pairing record on the phone. The first sentence to test is simple: remove the old Bluetooth entry, reopen the correct mobile app, and approve every permission the app asks for. If the gimbal is a camera rig, confirm the camera control cable is seated before trying again.
Do I need the app to use a gimbal?
You do not always need the app to use a gimbal. Basic stabilization usually works without it, especially on a phone setup. The app matters when you want firmware updates, sensitivity changes, device profiles, or camera control through Bluetooth and a camera control cable. If you only need steady footage, the app is optional.
Drafted with AI; not yet reviewed by a person.