
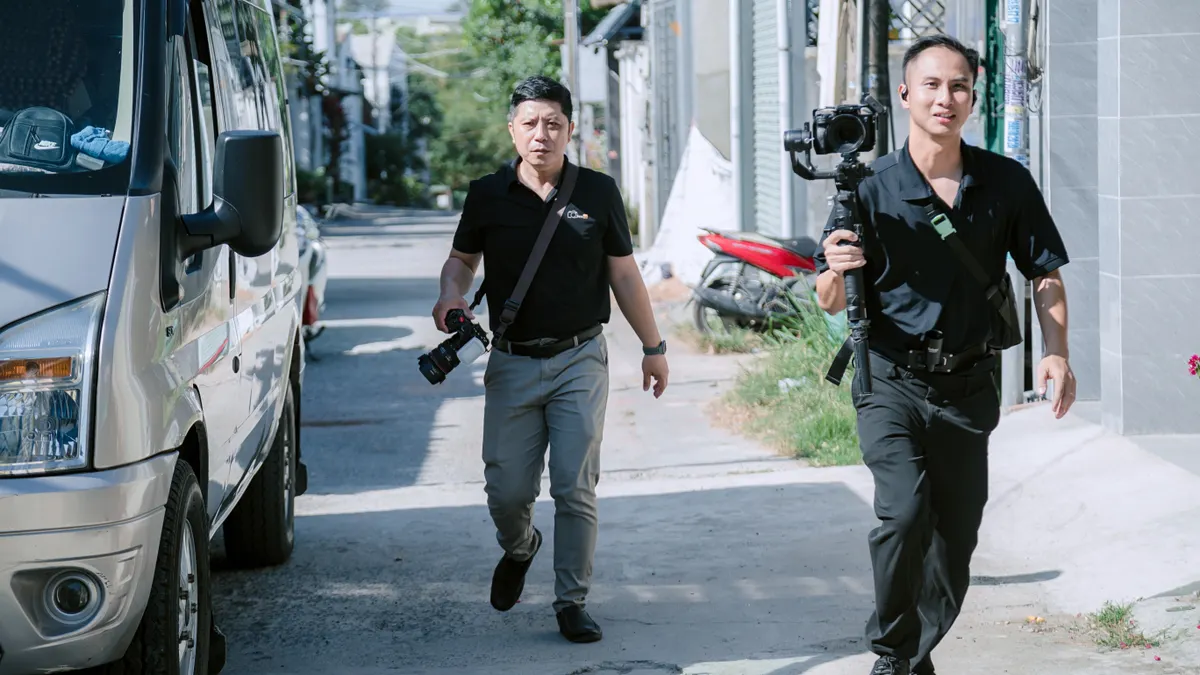
Last updated: October 31, 2026
Quick answer: to shoot smooth walking footage with a gimbal, use short soft steps, bent knees, and a quiet upper body, then start and stop over 1 to 2 steps. A handheld gimbal can remove a lot of shake, but the walking technique, arm posture, framing, and how you start and stop each move decide whether the shot feels polished or wobbling.
What smooth walking footage actually depends on
Smooth walking footage depends on three things working together: your steps, your upper body, and the gimbal’s ability to correct the small bumps you create. A handheld gimbal can help, but it cannot hide a hard heel strike, a rigid torso, or a sudden pan.
Because the goal is a controlled, floaty movement, the body has to act like a rolling platform. The goal is not zero motion. The goal is a controlled, floaty movement that looks intentional in cinematic video. If you are hoping the gimbal alone will fix a choppy walk, this method is the wrong tool for the job. A bright, fast-paced travel montage can tolerate a little bounce; a slow indoor reveal usually cannot.
The setup matters too. A properly balanced gimbal and a camera with a lens that gives you enough field of view make the walking easier to hold together, but this page does not cover balance or calibration. If you need that foundation, use the hub article on gimbal setup and operation first, then come back here for operating technique. For that broader context, see the gimbal setup and operation guide and the related camera movement basics page.
A useful way to judge the result is simple: if the frame drifts like a person gliding down a hallway, the technique is working; if the horizon hops on each step, the body mechanics are still too aggressive. That difference usually shows up in the first 5 seconds of playback, long before you get to a full take.
How do you walk with a gimbal?
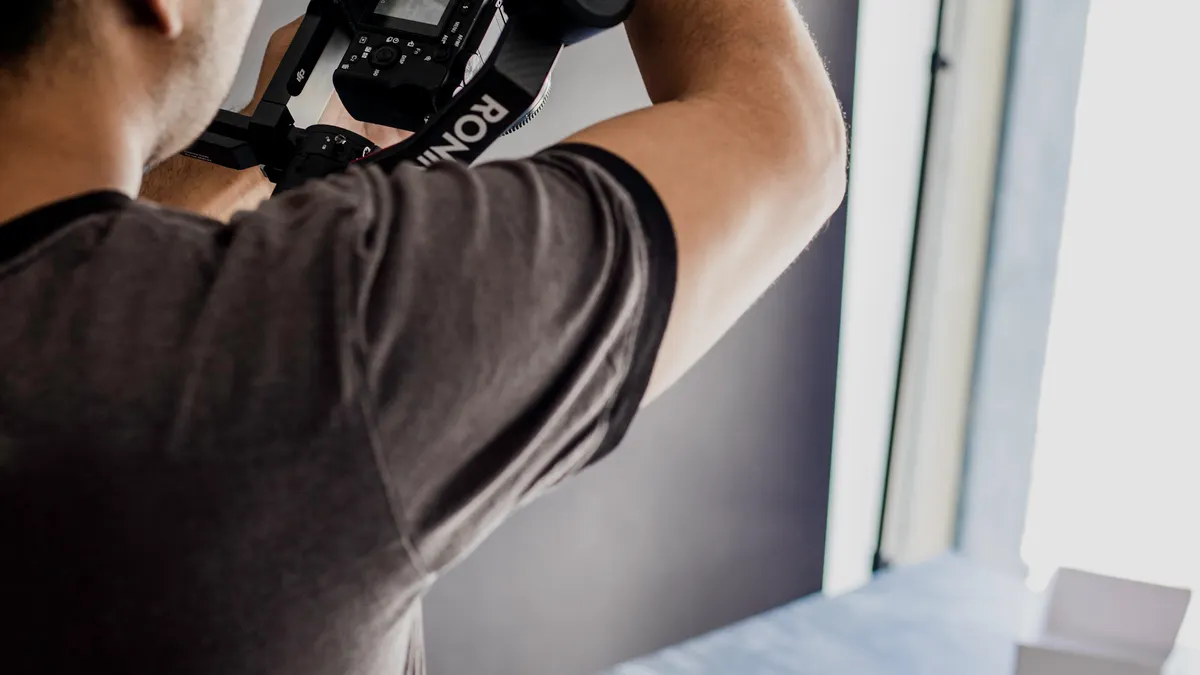
You walk with a gimbal by taking short, soft steps while keeping your knees slightly bent and your upper body quiet. The movement should come from the legs, not from swinging the arms or leaning the torso.
Here is the core procedure.
- Set your stance before you move. Stand with feet about shoulder-width apart, elbows tucked near your ribs, and the gimbal held close enough that the top plate stays stable, not stretched out at arm’s length. When this is right, the rig feels easier to control before the first step.
- Unlock your knees by a few degrees. Keep them soft, not locked. A small bend acts like suspension and reduces the jolt from each footfall. You should feel lighter on your feet instead of stiff.
- Use the heel-to-toe walk only lightly, or skip it for a toe-led step on very smooth ground. Place each foot quietly and avoid a heavy heel plant. On rough pavement, a softer, flatter step often looks better than a dramatic roll through the foot.
- Move at a steady, moderate pace. A slow creep can create visible bobbing if the upper body is tense; a faster walk can amplify sway. Pick one pace and hold it for the whole shot. The image should feel like it is floating, not stuttering.
- Keep the gimbal pointed where the story needs it, not where your hands drift. If the subject is centered at the start, it should stay centered through the move. A good take keeps the framing stable while your legs do the work underneath.
- Stop with the same softness you used to start. Ease out of the walk over 1 to 2 steps instead of freezing suddenly. The last frame should settle instead of snapping forward or dipping.
The biggest mistake here is trying to “hold still” while walking. That usually makes the body stiff, which transfers more shake into the shot. A better cue is to imagine balancing a full cup of coffee on the rig while your legs do the moving. That mental model keeps the upper body calm.
This is also why some operators look smooth in sneakers and uneven in hard-soled shoes. Footwear changes how much impact reaches the frame, especially on tile, concrete, or stairs. For walking footage, a grippy shoe with some cushioning is easier to control than a stiff sole.
What should your arm posture be?
Your arm posture should be relaxed, centered, and symmetrical enough that the gimbal is not fighting your body. The best look is usually to hold the rig close to your torso with the elbows bent around 90 degrees, then let the shoulders stay low.
A common error is extending the arms too far in front of the body. That turns every step into a lever, and the lever amplifies wobble. The result is not just shaky footage; it also makes the take harder to keep level during a 10- to 20-second move. If the frame starts to tilt or bounce after a few steps, the likely cause is arm tension, not the gimbal.
Keep the wrists straight instead of bent upward. Bent wrists create small corrective movements that show up as jitter in the frame, especially when you follow a subject or turn a corner. If your setup includes a heavier payload, that posture becomes even more important because fatigue sets in sooner. A long take with poor arm posture can look fine for the first 3 seconds and then fall apart.
Use both hands if the rig design allows it. One hand controls the handle, and the other can steady a second point on the body or crossbar. That second contact point gives the operator more control during turns and stops. If your gimbal design is meant for one-handed use, keep the non-holding arm close rather than dangling it loosely, because a swinging free arm can twist the torso.
One trade-off is speed. A very tucked, controlled posture is excellent for slow cinematic video, but it can feel awkward for fast follow shots or crowded spaces. In those cases, the goal is still to keep the elbows in and the shoulders quiet, but the steps need to get even smaller. If you try to walk fast with a wide arm swing, the footage will look more like a normal handheld shot than a stabilized move.
Framing tips that keep the shot usable
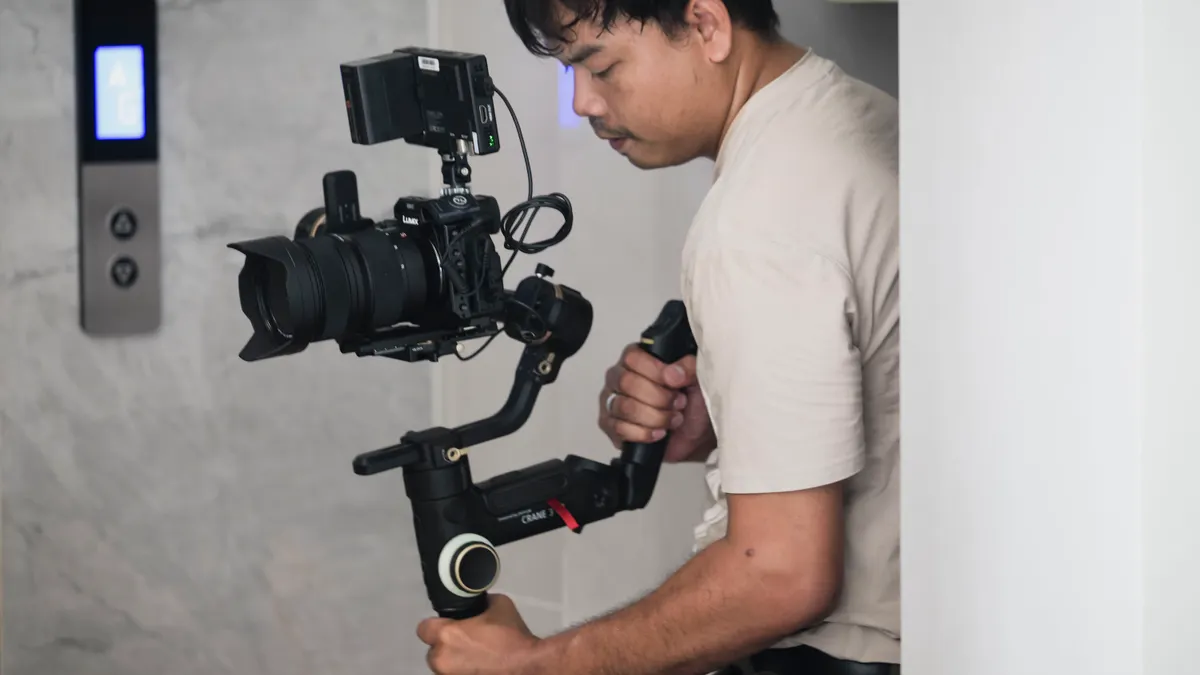
Good framing keeps the subject in a usable position even when the walk changes pace or direction. The easiest way to lose a shot is to let the subject drift too close to the edge of the frame during movement.
Start with a little more space around the subject than you think you need. A 24 mm or 28 mm equivalent field of view is often easier for walking footage than a tighter lens, because the wider frame hides small body movements and gives you room to correct composition. If the lens is too tight, every tiny step reads as a large shift.
Keep the horizon level unless the tilt is intentional. A subtle lean may look like energy, but an accidental lean looks like a mistake. Before you begin walking, pick the line you want the horizon to sit on and check it again after the first two steps. If it is drifting, correct with a small wrist or arm adjustment, not a big body reset.
When following a subject, leave more room in front of the direction of travel than behind it. That extra lead space makes the shot feel forward-moving instead of cramped. For a walk-and-talk, hold the subject a little off-center rather than dead center so the frame has room to breathe. That is especially helpful if you expect to turn a corner or pass a doorway.
If the shot is for a reveal, start with the frame blocked by a foreground object and move out slowly. A smooth reveal is often more impressive than simply walking straight at a subject. The movement should feel like a single, continuous line over 3 to 6 seconds rather than a series of corrections.
One thing generic advice gets wrong is telling you to “just keep the subject centered.” Centering is not always the best choice. In real walking footage, center framing can make motion feel stiff and leaves no margin for drift. A slightly off-center composition usually survives real movement better.
How to start and stop without a jolt
You start and stop without a jolt by stretching the first and last part of the move over 1 or 2 steps. The beginning and ending are where most walking footage gets exposed, because the human body naturally jerks when it starts or brakes.
Begin by standing still for a beat, then ease into motion with the first step at about half your normal stride. Do not lunge forward. The gimbal needs a moment to settle into the movement pattern, and the frame looks cleaner when the acceleration is gradual. A good start feels almost lazy for the first second.
The stop matters just as much. If you finish a move and freeze the body instantly, the rig often carries a tiny after-motion that shows up as a bounce. Instead, shorten the last two steps and let your pace fall away before you fully stop. The last frame should look like the shot came to rest, not like it hit a wall.
This technique becomes especially important when you are filming around corners, doorways, or subjects who are already moving. In those situations, you need to time the stop so the gimbal is not correcting at the same moment your legs stop. If the shot has a visible dip at the end, the fix is usually a softer exit, not more stabilization settings.
If you want a more cinematic video look, use the start and stop to shape the emotion of the shot. A slow start suggests caution or discovery. A clean, controlled stop suggests arrival. A sloppy start and stop makes the whole clip feel amateur, even if the middle is fine.
Common mistakes that make gimbal footage look shaky
The most common mistakes are overstriding, stiffening the torso, and chasing the frame with your hands. Each one adds visible cost to the shot, and the fix is usually a smaller movement rather than a more aggressive correction.
Overstriding makes the rig rise and fall with each step. You may not notice it while walking, but playback shows it immediately as vertical bounce. Shorter steps solve more problems than most settings changes. If the path is uneven or the ground is gravel, the stride should get shorter still.
Stiffening the shoulders creates a second problem: the gimbal can no longer move naturally to absorb motion. A tense upper body turns small walking errors into larger frame corrections. The fix is to keep the shoulders dropped and the elbows soft, even when you are concentrating on composition.
Chasing the frame with your hands is another trap. If the subject drifts a little, many operators overcorrect by twisting the wrists. That produces sudden pan corrections that look more distracting than the original drift. Because of that, make one small correction, then let the gimbal settle for a second before doing anything else.
A less obvious mistake is starting a shot before checking the path. Curbs, loose mats, uneven pavement, and stairs all create extra shake. A clean path is not a luxury; it is part of the operating technique. If the surface changes underfoot, no amount of arm control will fully erase it.
This is the section where the honest limit belongs: a handheld gimbal is not the right answer for every scene. If the ground is rough, if the shot requires running, or if the route is extremely tight and crowded, smooth walking footage may be better handled with a different support method. A gimbal is best when you can walk deliberately and keep the route predictable.
A quick field routine for better cinematic video
A short routine before each take gives better results than improvising every time. The same three-check pattern can save a shot in under 30 seconds.
First, stand still and hold the rig at the height you plan to use. Check that the frame is level and that the subject or horizon sits where you want it. Second, test two soft steps in place or over a short patch of floor. If the frame bounces, adjust your posture before you start the take. Third, pick the start point, the path, and the stop point before pressing record. That way, you are not thinking about route changes while also trying to walk smoothly.
This is the part of the process that separates “works on a monitor” from “looks good in a final cut.” A lot of shaky clips come from decisions made too late: starting too close to the subject, walking too fast, or stopping before the shot has settled. Planning a 5- to 10-second move with one clean beginning and one clean end is usually better than wandering until you think you have enough footage.
If you want the broader operating foundation behind this, the guide to gimbal setup and operation should sit alongside this page. The setup page handles balance and core operation; this one handles the movement itself. For related reading, the stabilized camera movement article and the video composition tips guide cover the framing side of the shot.
One useful rule: if the shot looks good in the first half and worse in the second half, fatigue is probably the issue. Reset your grip, loosen your shoulders, and shorten the take. Smooth walking footage is often won by discipline, not by endurance.
Key Takeaways
- The gimbal reduces shake, but your steps decide whether the shot feels polished.
- Short, soft steps and bent knees matter more than trying to freeze your whole body.
- Keep the rig close, elbows tucked, and wrists straight so the frame does not wander.
- Start and stop gradually over 1 or 2 steps instead of snapping into motion or freezing.
- Wider framing is easier to hold steady than a tight shot when you are walking.
- Smooth footage is often lost on rough surfaces, overlong strides, and overcorrection.
How do you walk with a gimbal?
You walk with a gimbal by using short, soft steps, bent knees, and a quiet upper body. The gimbal handles small corrections, but it cannot hide hard footfalls or a tense torso. Keep the rig close, move at a steady pace, and ease into each start and stop over 1 or 2 steps. For more on the setup side, see the gimbal setup and operation guide.
Why is my gimbal footage still shaky?
Your gimbal footage is usually still shaky because your walking technique is sending too much motion into the frame. The most common causes are overstriding, stiff shoulders, bent wrists, and abrupt starts or stops. A balanced rig helps, but smooth walking footage comes from smaller steps, a relaxed posture, and a cleaner path. For a related framing refresher, see the video composition tips guide.
Drafted with AI; not yet reviewed by a person.