
Last updated: October 31, 2026
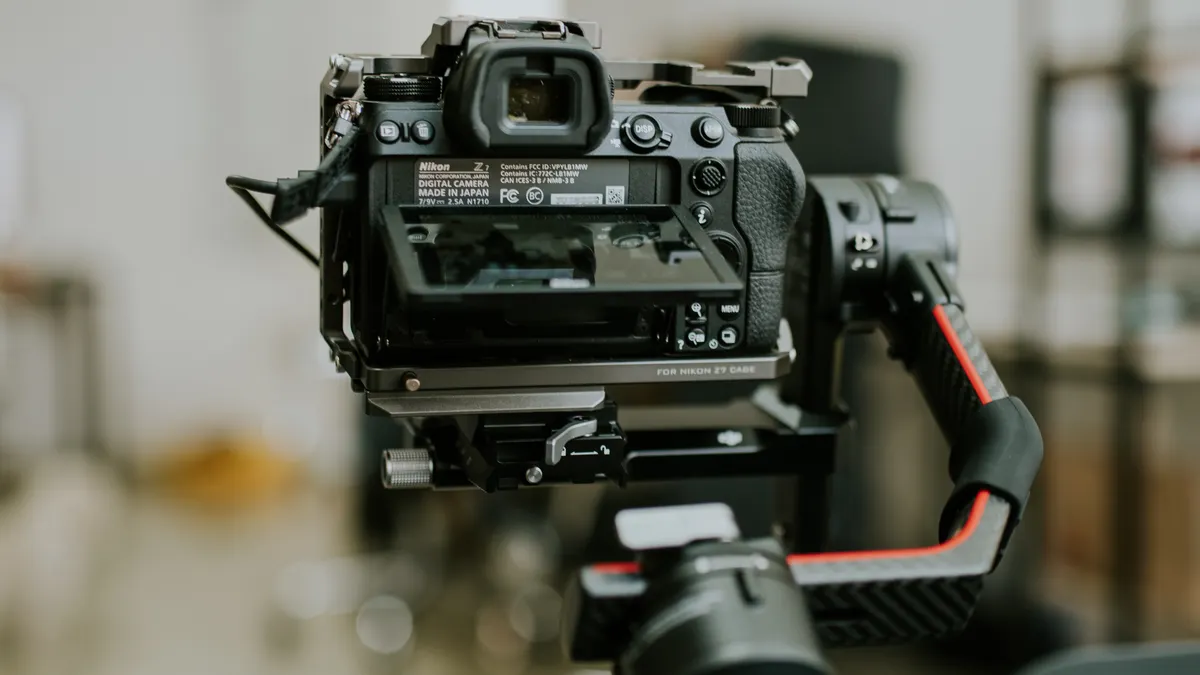
Quick answer: choose a gimbal whose payload capacity comfortably exceeds the full weight of your camera setup, then check lens size, battery grip fit, and balance room before you buy. A mirrorless body that looks light on paper can become a poor fit once a fast zoom, cage, microphone, or battery grip is attached. In the article, how to choose a gimbal payload and compatibility for your camera means matching the gimbal to the exact body, lens, and accessories you plan to mount.
If the gimbal’s rated payload is too close to your real setup weight, the motors work harder, the arm may run out of adjustment, and the rig can become annoying to balance. If the payload is far above your needs, you usually buy extra size and cost you do not need. The right answer sits in the middle: enough headroom to handle the exact body, lens, and accessories you plan to mount, without making the gimbal oversized for your use.
What gimbal payload capacity actually means
Payload capacity is the maximum camera setup weight a gimbal is designed to carry while still keeping the rig controllable. It is not the weight of the camera body alone, and it is not a promise that every camera of that weight will fit every arm shape.
This matters because two setups with the same total weight can behave very differently. A compact mirrorless camera with a short prime lens is easier to place on a gimbal than a longer lens with the same weight, because the lens changes the center of mass. A DSLR with a battery grip can also be awkward even if the scale reading looks acceptable.
Many product pages list payload as a single number, such as “up to 3 kg” or “up to 4.5 kg.” Treat that number as a ceiling, not a target, and if you are unsure, consult a professional or the manufacturer for setup-specific guidance. Real-world compatibility depends on three things:
- total weight
- physical size and shape
- how far the center of gravity sits from the mounting plate
A gimbal can technically be within payload and still fail to fit if the lens collides with an arm or the battery grip hits the roll motor. That is why payload capacity and compatibility are related but not identical.
Start with the full setup weight, not the body alone
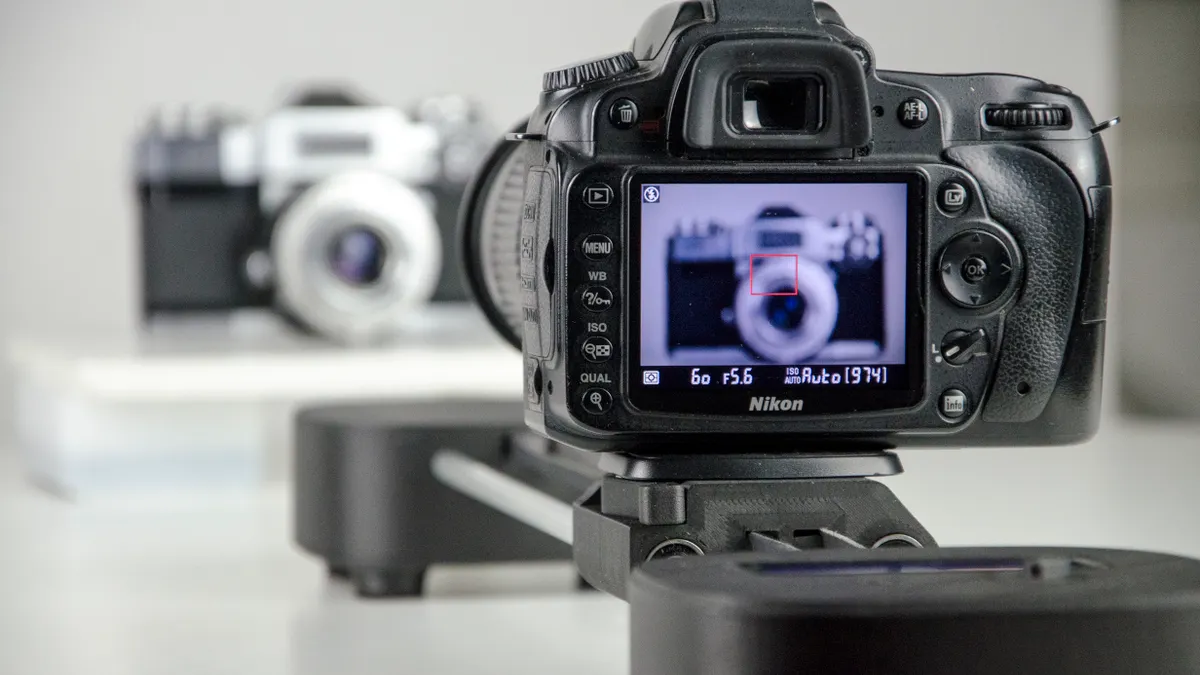
The full setup weight is the number that decides whether a gimbal is realistic.
Do not begin with the camera body spec sheet. Begin with everything that will stay on the rig during a shoot: body, lens, battery, memory card, cage if you use one, microphone if it mounts on the camera, and any battery grip. A lens hood, filters, and a top handle can matter too if they stay attached.
A simple way to think about it:
- Write down the body weight from the manufacturer.
- Add the lens weight, not just the lens mount standard.
- Add the weight of any cage, grip, or accessory that remains on the camera.
- Compare the total to the gimbal’s payload rating.
- Leave a margin instead of treating the limit as safe working room; if the setup is close to the published limit, consult a professional or the manufacturer before buying.
That last step is where many people go wrong. A setup at the edge of the rating may fit on paper but still feel unstable once the lens is extended or the center of gravity shifts forward. A lighter setup with more room inside the rating is easier to live with.
A practical example helps. A mirrorless body with a small 24 mm prime may sit comfortably on a compact gimbal. Swap that prime for a heavy 24–70 mm zoom and the same body can move from “easy” to “awkward” fast, because the lens changes the balance point and pushes the front of the rig outward.
If you shoot with a DSLR, expect a larger body and sometimes a deeper grip. That can raise the weight and also change the shape enough that some smaller gimbals become poor matches even before payload becomes the issue.
How to choose a gimbal payload and compatibility for your camera
The right gimbal is the one that matches your heaviest intended setup, not just your lightest one.
Use this procedure before buying:
- List your main setup in its heaviest realistic form, including body, lens, battery grip, cage, and any fixed accessory. The result should be a single total weight in grams or kilograms, not a guess.
- Check the gimbal’s rated payload and compare it to that total. Choose a model with headroom, not one sitting right on the edge of the published number.
- Measure the lens diameter and length, then compare them with the gimbal’s arm clearance and mounting space. A long f/2.8 zoom usually needs more room than a short prime even when the weights look similar.
- Look for notes on camera compatibility from the manufacturer, especially if your body uses a battery grip, an unusually tall viewfinder hump, or a deep lens mount.
- Confirm that the quick-release plate and camera plate can shift far enough fore and aft for your setup. If the plate runs out of travel, the rig may never balance cleanly.
- Check accessory clearance for microphones, HDMI clamps, focus motors, and cages. A gimbal that fits a naked body may fail once a cage adds another 20 to 40 mm of width.
The point of this process is not to chase the biggest payload number. It is to find a gimbal whose frame, motors, and plate travel match the actual shape of your build.
One useful rule: if you plan to upgrade later, buy for the heaviest setup you are likely to use in the next year, not for a theoretical future cinema build you may never own. A large rig can be overkill for a small mirrorless camera, especially if you mostly shoot travel, family video, or social clips.
A compact gimbal often makes more sense for a bare mirrorless body and a small lens. A larger model makes more sense if you regularly mount a DSLR, a battery grip, and a heavier zoom. The right choice is less about prestige and more about where your setup sits in the compatibility window.
Does lens weight matter for a gimbal?
Yes, lens weight matters as much as body weight, and sometimes more.
A gimbal does not “feel” only the total mass. It feels where that mass sits. A 500 g lens mounted far forward can stress the arms and motors differently from 500 g added near the body. That is why lens weight alone can change whether the rig feels easy or awkward.
Lens shape matters too. A long lens may create clearance problems even if the total weight is modest. The front of the lens can strike the tilt arm, or the barrel can sit so far forward that the camera must be pushed too far back on the plate. Either way, the gimbal loses adjustment room.
This is especially important with fast zooms and telephoto glass. A 24–70 mm lens and a 70–200 mm lens do not behave the same way on a stabilizer, even if the weight difference is smaller than you expect. The longer lens usually asks for more space, more careful placement, and more patience.
The common mistake is buying for body weight only. That mistake costs you one of two things: either the gimbal is too small and the lens physically interferes, or the gimbal is large enough but cumbersome for everyday use. The better move is to treat lens choice as part of the buying decision, not an afterthought; if the setup is borderline, consult a professional or the manufacturer before you buy.
If you swap lenses often, choose a gimbal that can handle the heaviest lens you actually expect to use. If you use one small prime most of the time and a large zoom only occasionally, decide which use case matters more. The answer can be different for a travel shooter than for a wedding shooter.
Battery grip compatibility can change the whole decision
A battery grip can push a camera from “fits” to “does not fit” even when the payload number still looks fine.
The issue is not only weight. A grip makes the body taller and deeper, which can reduce clearance around the roll arm and make the camera sit outside the gimbal’s natural mounting range. Some gimbals accept grips without trouble; others become cramped or unusable once the grip is attached.
Before buying, check three things:
- the grip’s added height below the camera body
- the width of the grip where it meets the handhold
- whether the grip blocks the camera plate from sliding far enough to balance
This matters a lot with DSLRs, but mirrorless bodies are not immune. Some mirrorless cameras with extended grips or vertical battery modules become much harder to mount than their naked-body weight suggests.
There is also a workflow trade-off. A battery grip can improve runtime and handling, but it can make the overall setup bulkier and more tiring to use on a handheld gimbal for long periods. If the grip is not essential for your shooting style, leaving it off may open up a wider set of gimbal choices.
The safest approach is to treat “battery grip compatibility” as a separate checkbox, and if the manufacturer does not mention it, verify dimensions carefully. A gimbal that only fits a camera without its grip may still be useful, but it is not the same purchase.
The compatibility checks that matter more than the headline number
The headline payload number matters, but it is not the only number worth checking.
A gimbal can carry 3 kg on paper and still frustrate you if the plate travel is short, the arm gap is narrow, or the camera body sits too high on the roll axis. That is why compatibility checks go beyond total payload.
Pay attention to these specifics:
- Plate travel: enough fore-aft adjustment to move the center of gravity.
- Arm clearance: room for your lens barrel, grip, or cage.
- Camera height: tall bodies often clash with the roll motor.
- Accessory clearance: microphones, cable locks, and cages can block motion.
- Lens length when zoomed: some zooms extend enough to alter fit.
If the manufacturer publishes a compatibility list, read it carefully. Those lists often mention whether the camera works with a battery grip, which lens sizes were tested, and whether a certain body is supported only in a particular configuration. That detail is more useful than a broad “mirrorless compatible” label.
This is also where body shape matters. A small but tall camera can be harder to fit than a slightly heavier but flatter one. A DSLR with a pronounced prism hump may create different balance constraints than a boxier mirrorless body. Shape can matter as much as mass.
For readers comparing options, this is the point where the guide to gimbal buying guides becomes useful. A payload spec tells you the ceiling; a buying guide helps you narrow the actual model class once you know the weight and shape of your setup.
Common mistakes that lead to the wrong gimbal
The most common mistake is buying to the body alone and ignoring the lens.
That mistake costs you fit, balance room, and sometimes a return. A 400 g body paired with a 900 g lens is not a “light camera” anymore in gimbal terms. The rig should be judged as a system.
Another mistake is assuming every mirrorless camera fits every mirrorless gimbal. It does not. Some bodies are taller than expected, some have deep grips, and some with battery grips push into the gimbal’s frame. The label “for mirrorless” is too broad to be useful by itself.
A third mistake is choosing a payload number with no margin. That saves nothing in practice if the motor has to work at the edge every time the setup changes. Small setup changes happen constantly: a filter goes on, a cage gets added, a battery grip comes off, a different lens replaces the usual one. When the setup is near the limit, those changes become a problem.
A fourth mistake is ignoring accessories. A microphone, wireless receiver, or lens support can interfere even when the camera itself fits. These are not exotic edge cases; they are common reasons a rig that looked fine online becomes annoying in real use.
The better habit is simple: build the exact configuration you expect to carry, then match the gimbal to that, not to the promotional image.
When a smaller or larger gimbal is the right choice
A smaller gimbal is the right choice when your setup is a light mirrorless body with a short lens and no battery grip.
That setup benefits from lower weight, faster setup, and less bulk in a bag. It is the better fit for travel, casual video, and short handheld sessions. If you rarely change lenses and your heaviest lens is still modest, a compact gimbal is easier to carry and more likely to get used.
A larger gimbal is the right choice when you regularly mount a DSLR, a battery grip, or a heavier lens.
That extra size buys room for clearance and balance, and it gives you more flexibility when accessories stack up. The trade-off is that the rig becomes heavier and more awkward for small everyday setups. A large gimbal can feel like too much machine for a simple mirrorless body.
The wrong choice in the other direction is just as common. A gimbal that is too small for the camera may appear attractive because it is lighter and cheaper, but it can become a headache the first time you mount a longer lens or add a grip. That is why the best recommendation is not “buy the biggest one you can afford.” It is “buy for the configuration you will actually use most.”
For many readers, that means one of two paths:
- choose compact if your setup stays small
- choose a higher-capacity model if your lens or grip makes the rig large
That simple split is usually more useful than chasing the broadest marketing claim.
Key takeaways
- Match the gimbal to the full rig, not the naked body.
- Lens size can matter as much as lens weight.
- Battery grips often change fit more than people expect.
- Headroom is safer than running near the published limit.
- Clearance and plate travel decide compatibility as much as payload.
How do I know if a gimbal fits my camera?
Check the camera body, lens, cage, and battery grip as one setup, then compare that total to the gimbal’s payload rating and clearance. The rating alone is not enough. You also need enough plate travel and arm space for the lens length, body height, and any attached accessories. Manufacturer compatibility notes help, but they do not replace dimension checks.
Does lens weight matter for a gimbal?
Yes, lens weight matters because it changes both total load and balance position.
Drafted with AI; not yet reviewed by a person.